Description
Specifications
| YSi-V | ||||||
|---|---|---|---|---|---|---|
| Applicable PCB mm | L610 x W560mm (Max) to L50 x W50mm (Min) (Single lane) Note : L750mm long length PCBs available (option) |
|||||
| Number of pixels | 12 megapixels | 5 megapixels | ||||
| Type | 12M TypeHS2 | 12M TypeS | 12M TypeDF | 5M | ||
| Resolution | 12µm | 7µm | 12µm | 7µm | 12µm | 18µm |
| Target items | Components status after mounting, components status and solder status after hardening | |||||
| Power supply | 3-Phase AC 200/208/220/240/380/400/416V ±10% 50/60Hz | |||||
| Air supply source | 0.45MPa or more, in clean, dry state | |||||
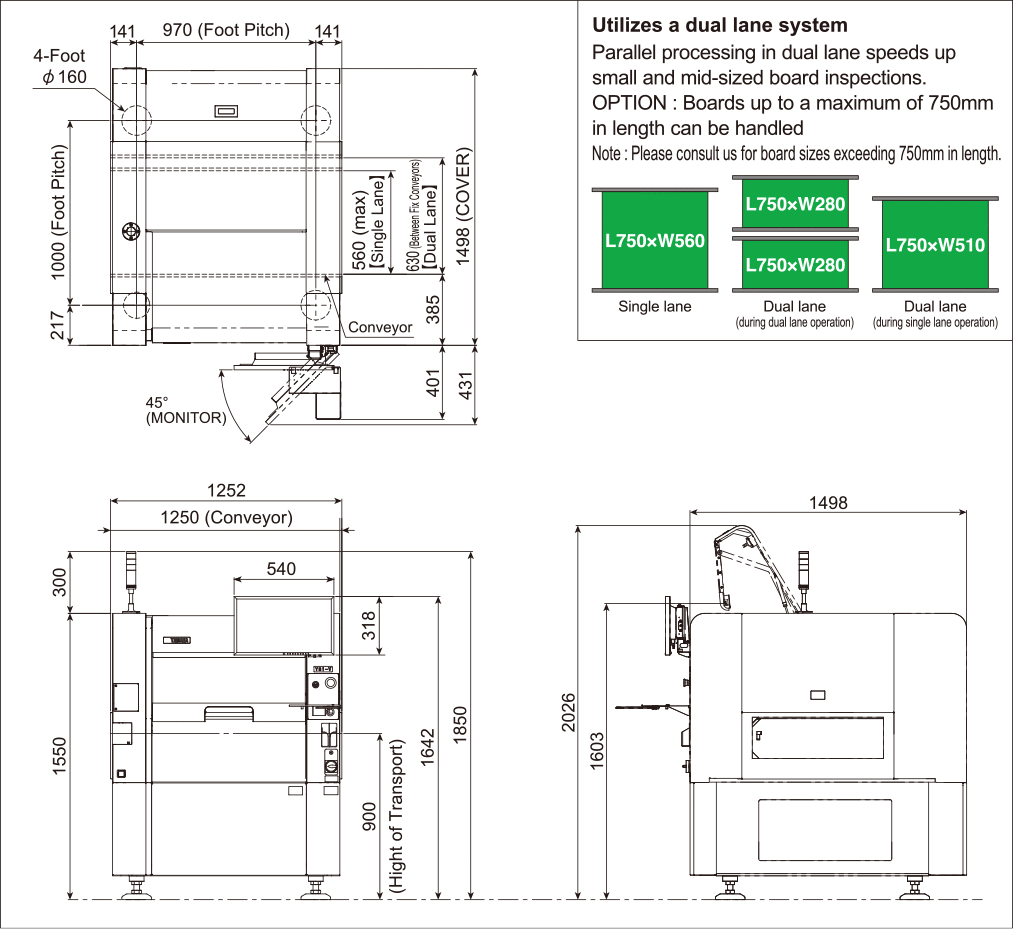
| External dimension | L1,252 x W1,498 x H1,550mm (excluding protrusions) | |||||
| Weight | Approx. 1,300kg | |||||
- Specifications and appearance are subject to change without prior notice.
External dimension
Function and Feature
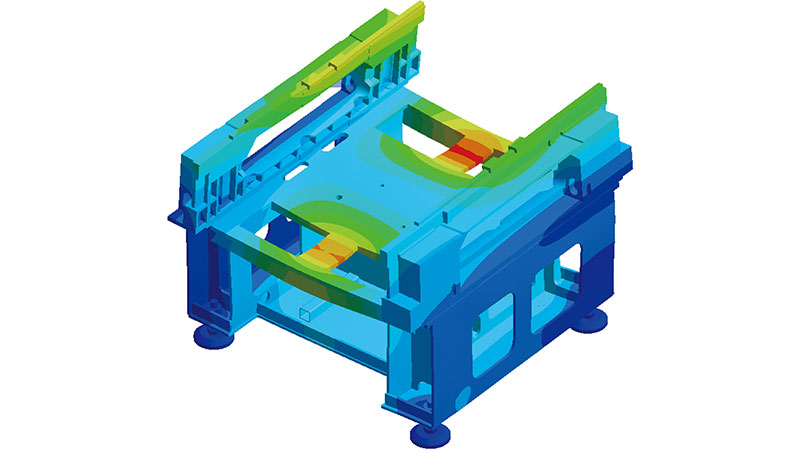
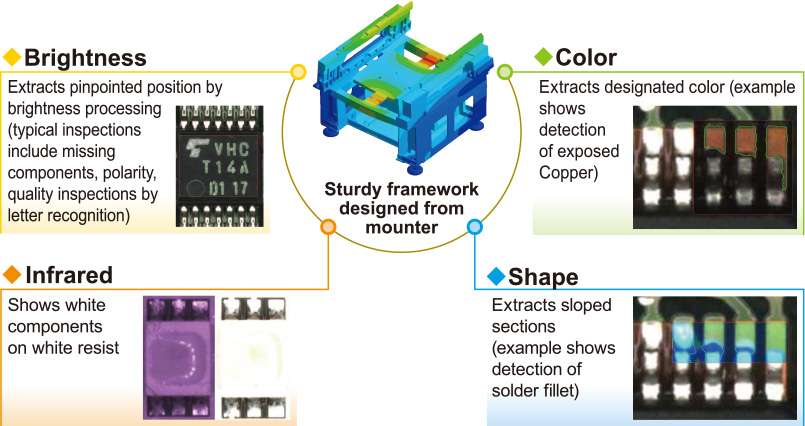
Sturdy framework designed from mounter
2D High-speed, high-resolution 2-dimensional inspections
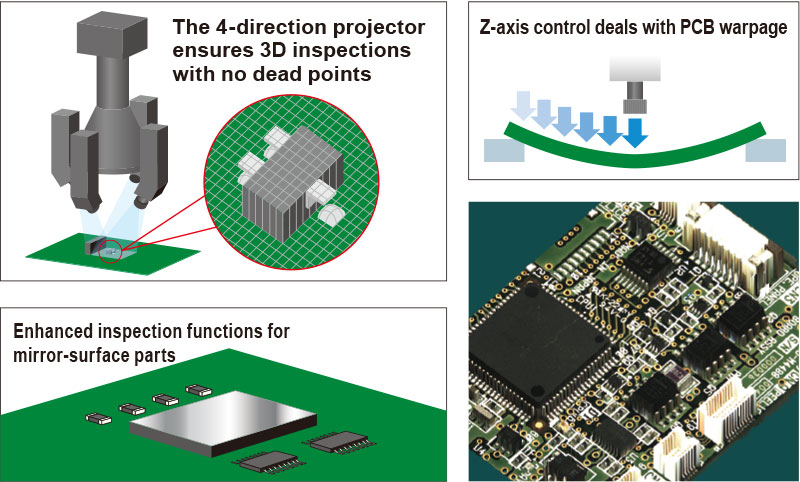
3D Height, and sloped surface 3-dimensional inspections (option)
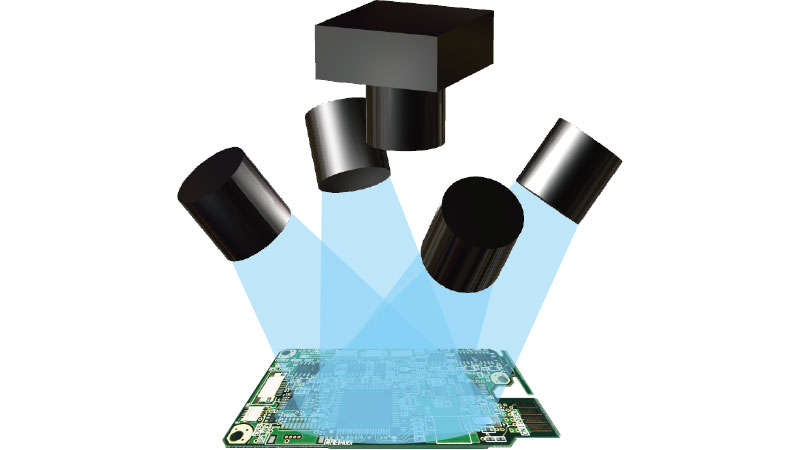
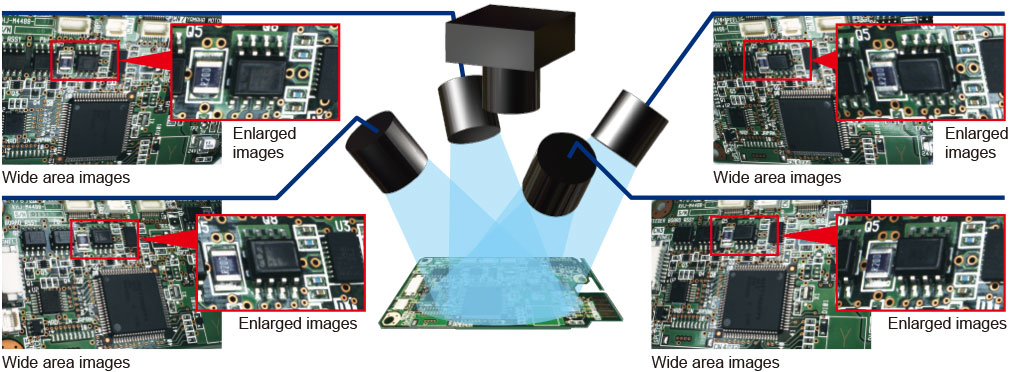
4D∠ 4-direction angular camera (option)
2D High-speed, high-resolution 2-dimensional inspections
High resolution imaging offered in 2 types, 12 megapixels and 5 megapixels
Available in a standard type 5M and a high-end type 12M. 12M easily outpaces rivals with its 12 megapixel industry High resolution camera and a telecentric lens offering both a high number of pixels and the high image resolution indispensable for making high-resolution inspections. Both 5M and 12M achieve high-speed along with high-accuracy and expanded field of vision by incorporating a high-speed image processing control system.
Provides optimal inspection technique selectable from 5 different methods
3D Height, and sloped surface 3-dimensional inspections(option)
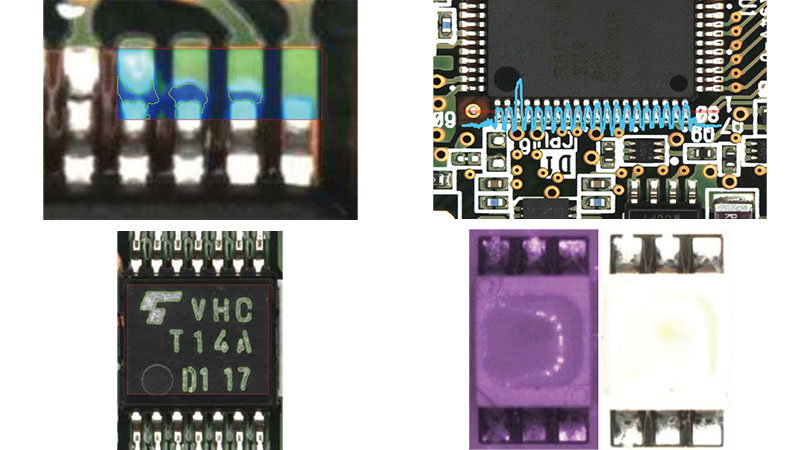
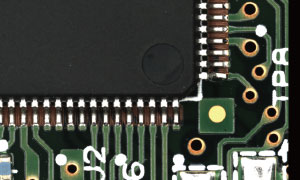
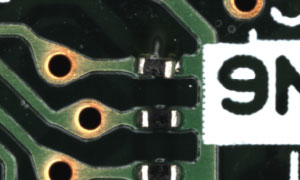
High-speed measurement achieved by raising all viewing field heights. 2-D imaging reliably detects floating or unseated parts etc. even in tough, hard-to-find cases. TypeHS2 with 7μm resolution includes inspection function for ultra-tiny 0201mm chips that employs a newly designed high magnification projector.
| Components with leads | Chip components | |
|---|---|---|
| 3-dimensional inspection |
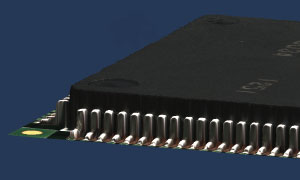 |
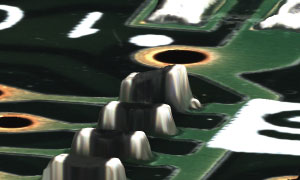 |
| 2-dimensional inspection |
 |
 |
4D∠ 4-direction angular camera(option)
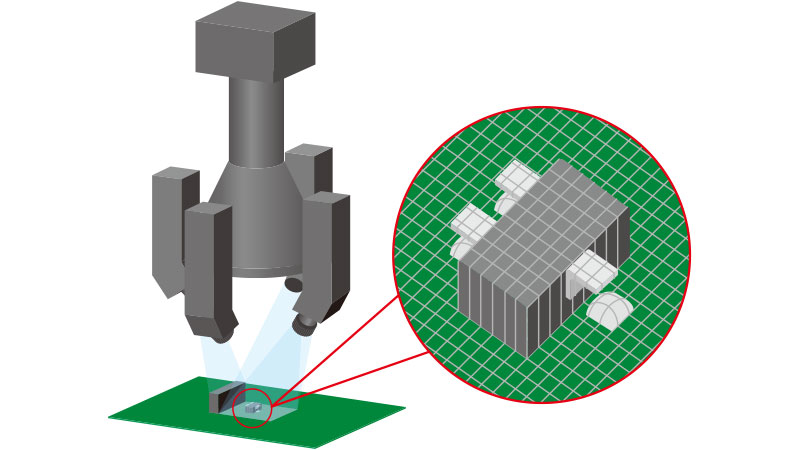
Besides 2-dimensional inspection from directly above the PCB, gives batch imaging of the entire field of vision by 4-direction sideview inspection with no tact loss! This also allows visual inspections without having to touch the PCB, since imaging allows checking the PCB in 4 directions just as if you’re holding it in your hand. This also helps prevent operator errors and drastically shortens the process time. Also supports automatic inspections for defects not visible from directly above the PCB such as solder bridges between pins under component bodies.
Software supports real-time, streamlined inspections!
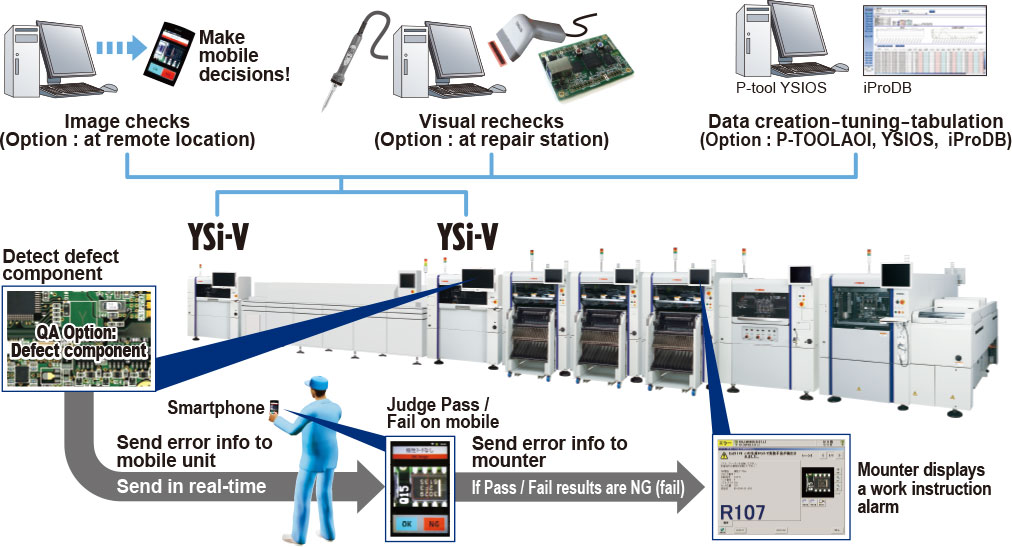
Mobile Terminal Pass / Fail Function
Sends images of defects and information to the operator’s mobile device by WiFi, so operators can now make pass-fail judgements on their mobile device.
QA Option
The mounter that placed the defect component is identified. The error information is sent by WiFi. The mounter is automatically set to cycle-stop and data such as the feeder position, head number and nozzle type appears on the monitor.
Supports and simplifies creation of inspection programs!
Loads Yamaha mounter data for import into inspection data. A preinstalled library of over 1,000 types drastically shortens the startup time. Also, supports IPC standards(IPC-A-610), and just specifying the particular class automatically updates the inspection standards.
Support to boost IQ or Intelligent Quality!
The inspection history management software iProDB lets you monitor the status of mounters, printers, and inspectors all in just a glance! The iProDB amasses test result data to calculates potential trouble warning signs. It gives vital intelligent quality (IT) support it applies to process improvements.





Reviews
There are no reviews yet.